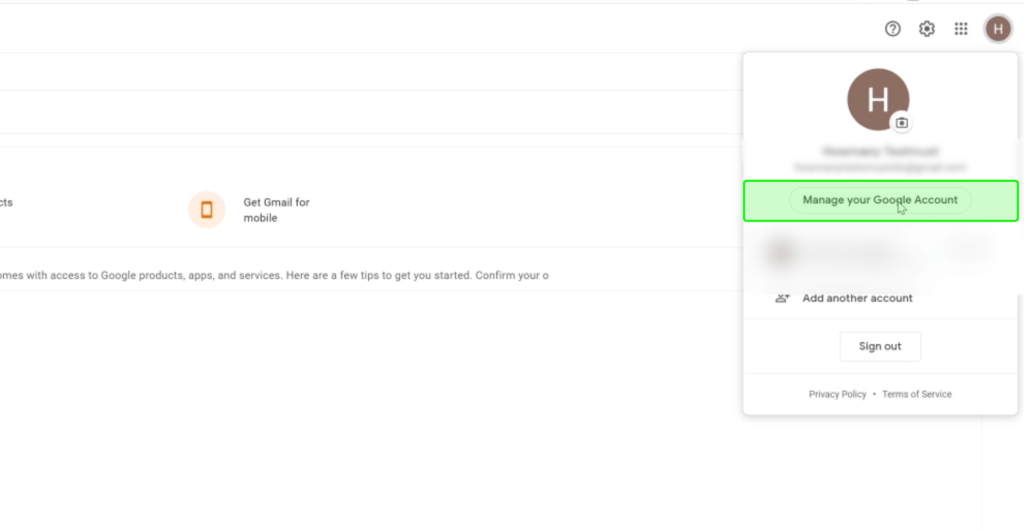
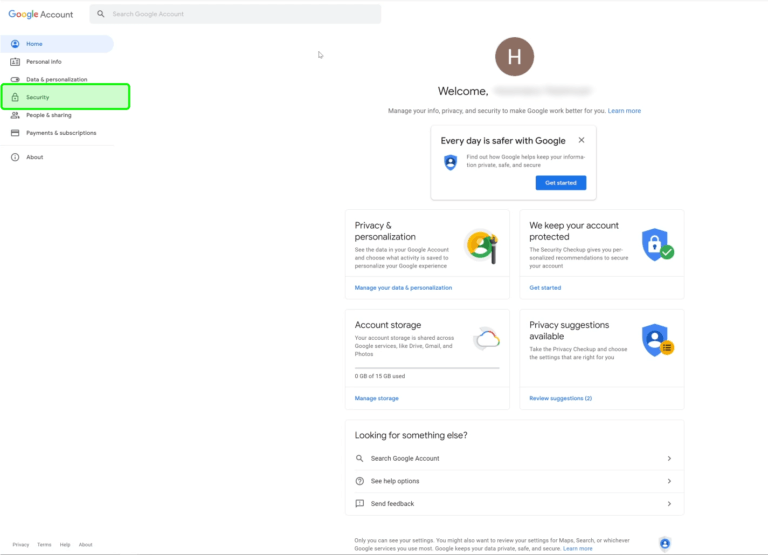
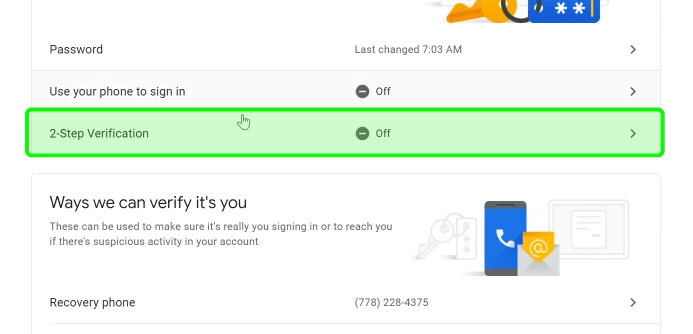
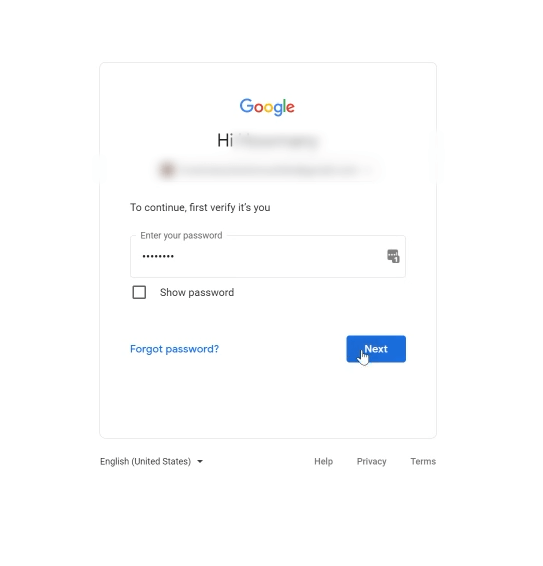
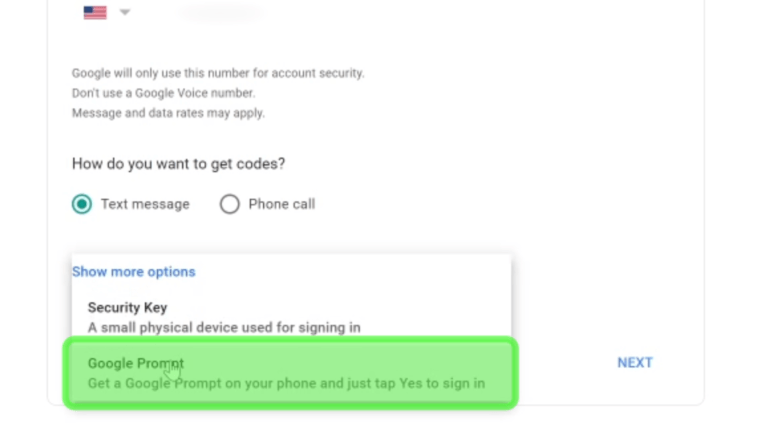
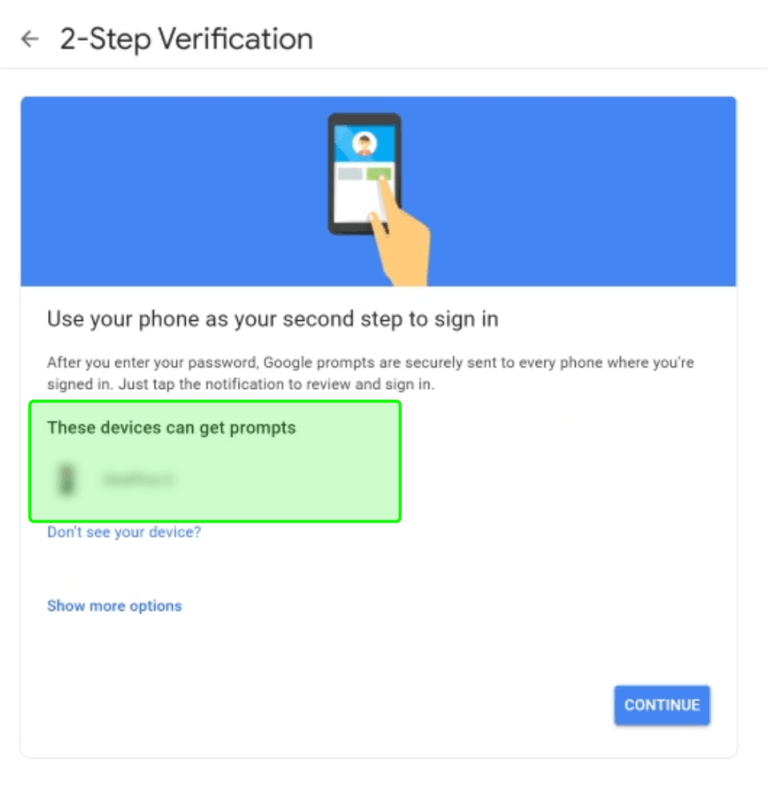
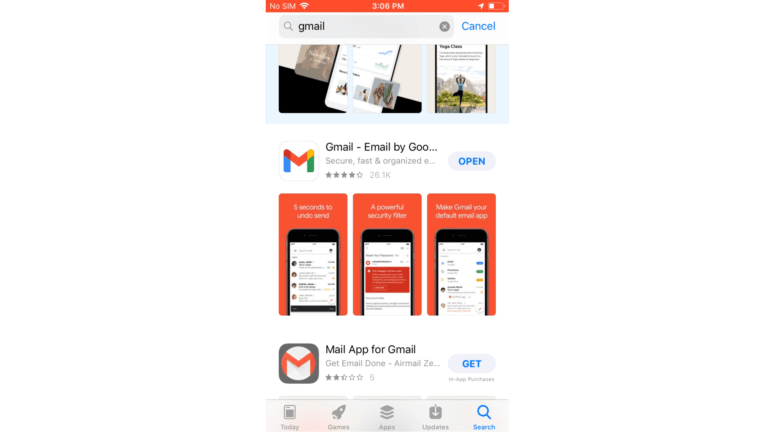
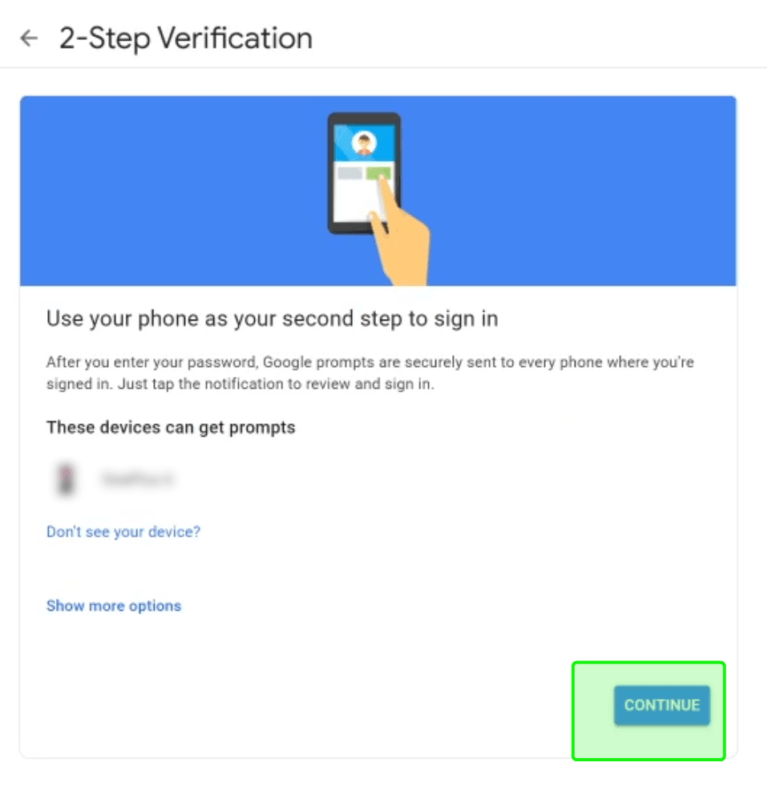
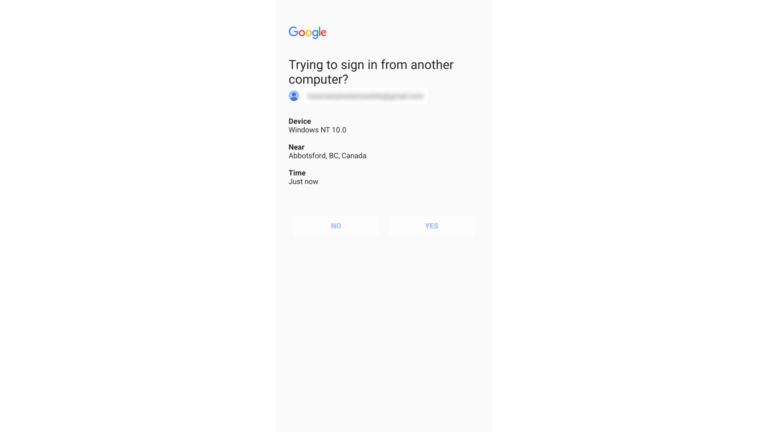
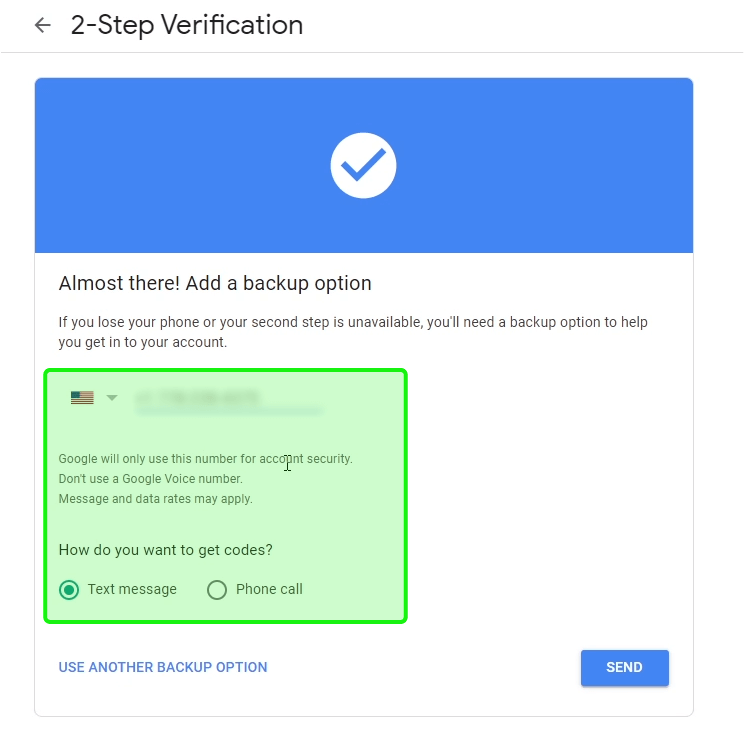
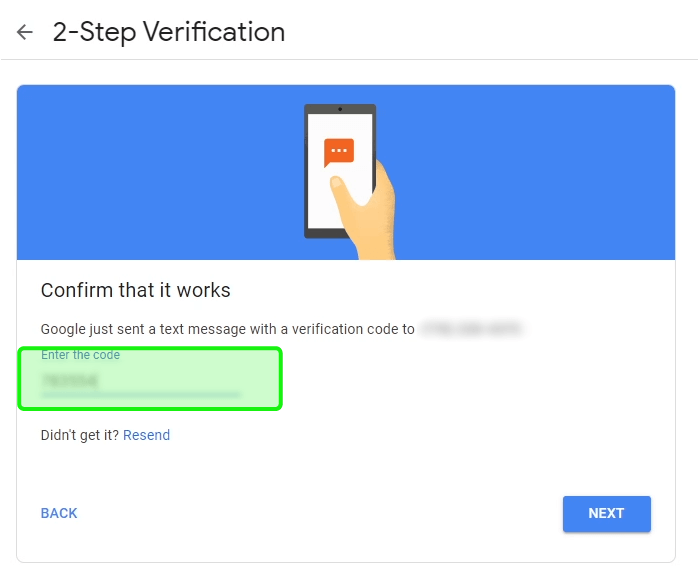
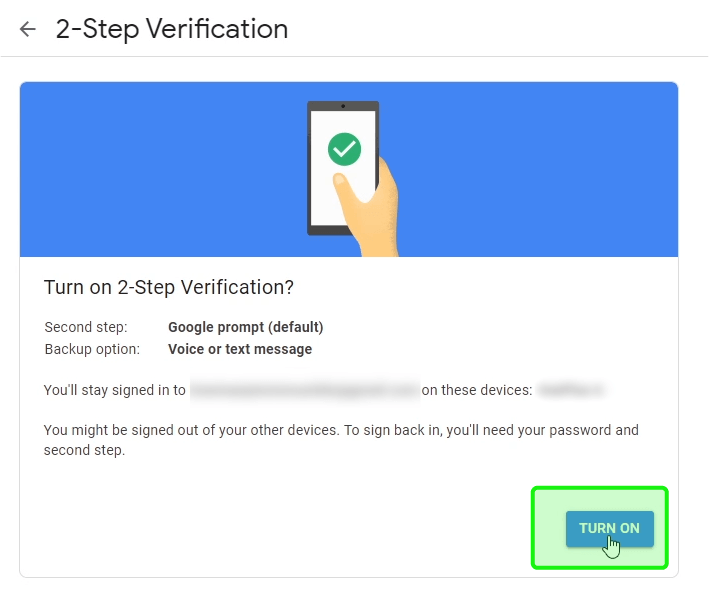
Set Up MFA on Your Google AccountBy Ryan Kononoff / June 17, 2021 / Cybersecurity The last thing you want is for your accounts to get hacked. That’s why we’re going to show you how to set up MFA (Multi-Factor Authentication) on your Google account.If you’re not sure what MFA is, check out this blog post for more information Let’s Get StartedOn your computer, go to gmail.com and sign in like you normally would.In the top right corner, click on your photo and select “Manage Your Google Account” from the menu. You will be taken to the account management page.On the menu to the left, click “Security”. Scroll down until you see “2-Step Verification”.If you DON’T see this option anywhere on your screen, contact us.We’ll sort this out for you and let you know when you can continue. Select “2-Step Verification” and click “Get Started”. Enter your password again when prompted. When asked to enter a phone number, select “Show more options” and choose “Google Prompt” from the list. Your mobile phone’s name should appear on the screen. If your phone doesn’t appear on the screen, you will need to sign into your Google account on your phone.If you have an iPhone, you will need to download the Gmail app from the App Store and sign in in through there. On your computer, click “Continue”. Once you do, Google will send a prompt to your phone. Check the information is correct, and tap “Yes”. Google will want you to set up a backup method. Type in your phone number and click “Send”. Google will text you a verification code. Type in the code and click “Next”. The last step is to click “Turn On” to enable 2-step verification. Congratulations!You’ve finished setting up multi-factor authentication!Your account is now much more secure than ever before!If you would still like to go over this setup step-by-step, feel free to contact us! Tags: Google MFA