Creating a Label
A common strategy to keep your email and inbox organized is to categorize emails by placing them under/into specific labels (or ‘folders’, if you’ve used Outlook). To do that in Gmail, you have to create labels.
Labels are akin to Folders in Microsoft Outlook and work basically the same way, except that Gmail labels also appear beside the email subject line in your inbox.
Follow these steps to create a new label in Gmail:
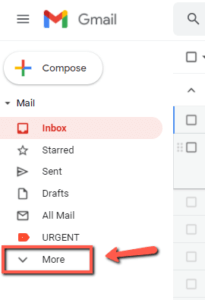
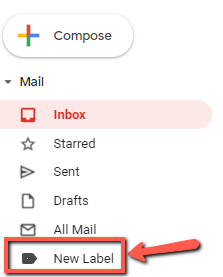
- In the left navigation left menu, click the ‘More’ button

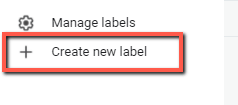
- Scroll down to ‘+ Create new label’
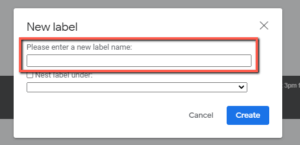
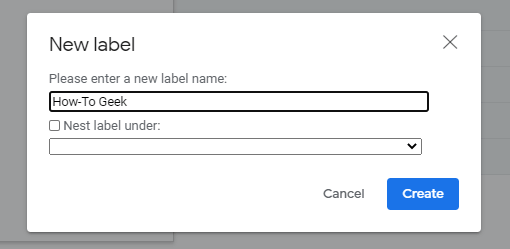
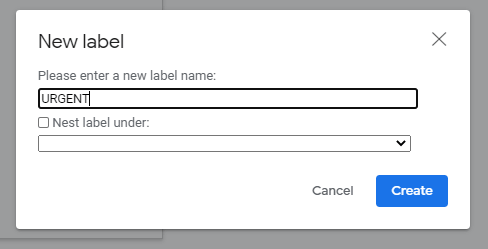
- Add a label name in the window that appears.
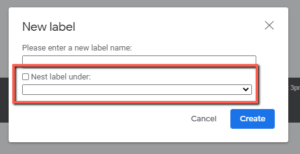
- (Optional) You have the option to ‘Nest your label’ underneath an existing label (like a sub-folder). So if you already have a ‘Customers’ label and you want to create a nested label for a specific customer, you can do that here and it will appear below the main label.
- Click ‘Create’
Your newly created label will now be located in your left navigation menu with all the other default labels.
Creating Automatic Filters
Wouldn’t it be AWESOME if you only saw the urgent and important emails in your inbox—while the other distracting emails got sorted without you batting an eye?
Awesome news, then: Gmail let’s you do that.
With Gmail, you can filter out unimportant and distracting emails from taking up your attention and space in your inbox.
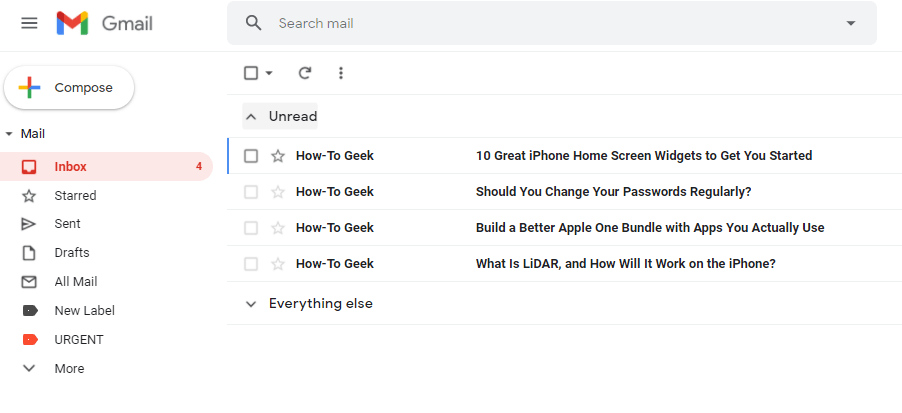
Let’s look at an example from my inbox.
I love How-To Geek emails, but they hit my inbox frequently and they’re not important. I can set up a label and filter so their emails skip my inbox and get a label where I can open them later.
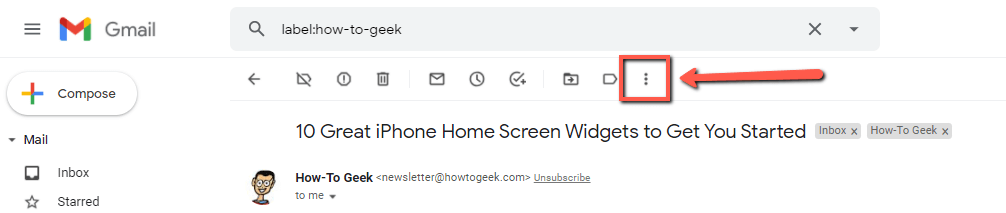
There are a few ways to do this, but one of the simplest is opening the email you wish to label and filter.
- Open How-To Geek [or any email from the address you wish to filter] email
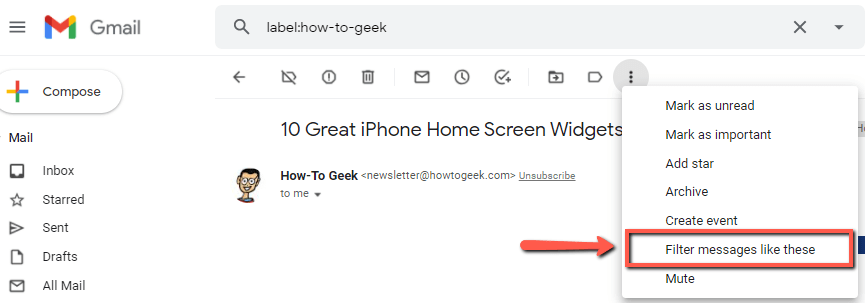
- Then, click on the three vertical dots ‘More’ button
- Select ‘Filter messages like this’
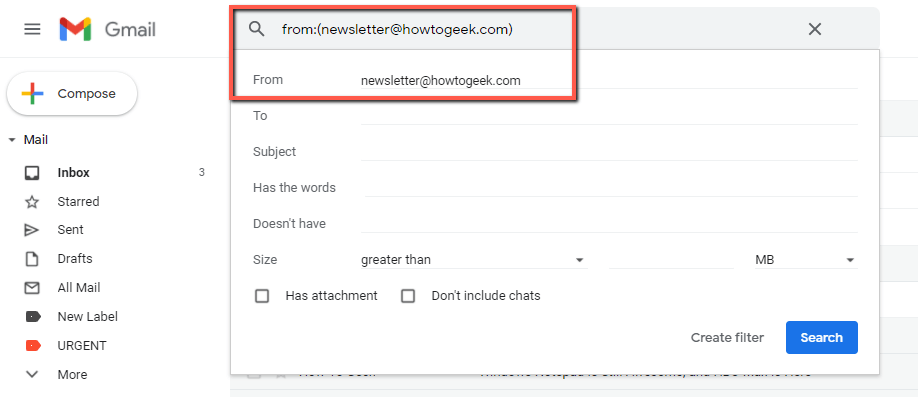
- Confirm the ‘From’ email address is the correct one you’d like to filter
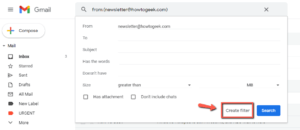
- Click ‘Create filter’
After these 5 steps, a filter criteria checklist will appear where you can add rules to emails that arrive in your inbox from that address.
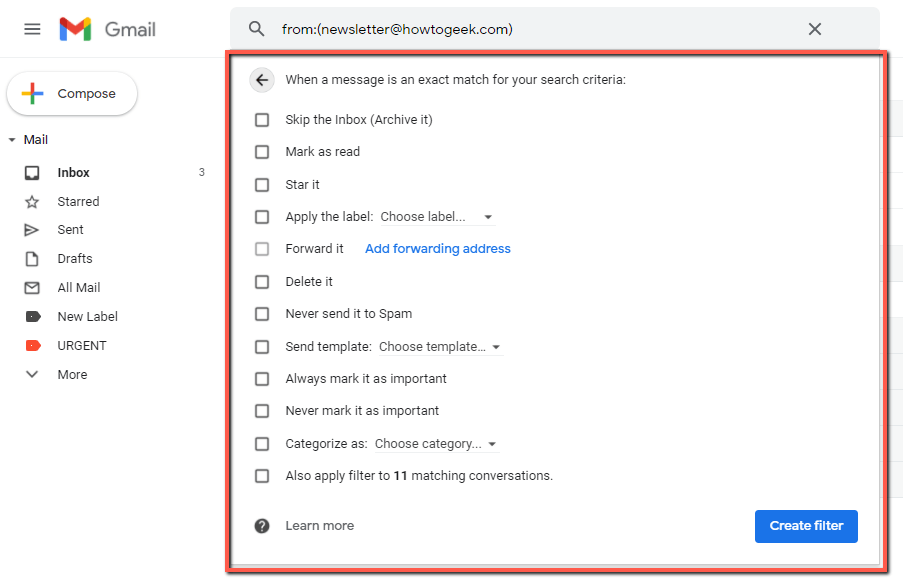
In this case, I want How-To Geek emails to skip my inbox and live in a different label.
To do this, I’ll…
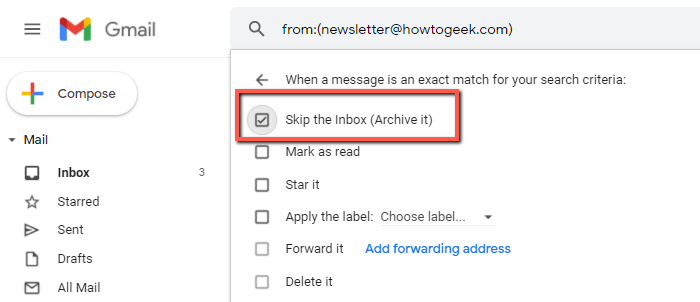
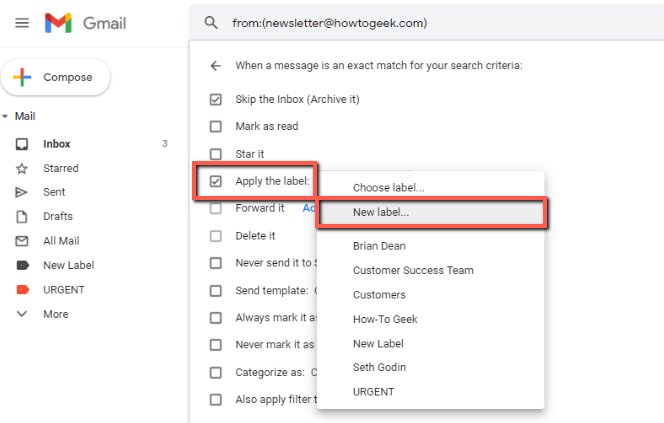
- Check ‘Skip the inbox (Archive it)’
- Check ‘Apply the label” and then from the drop-down, select ‘New label…’
- Name the new label How-To Geek, and click ‘Create’
Now, anytime an email from newsletter@howtogeek.com hits my inbox, it’s going to be automatically filtered into my newly created label How-To Geek.
So cool.
Automatically Highlight Emails with Important Labels
On the other end of the priority spectrum, you receive important emails you definitely don’t want skipping your inbox.
A great strategy is to highlight them to ensure you don’t miss them. You can use some of the same filter and label options from the past example to do this.
Here’s another example.
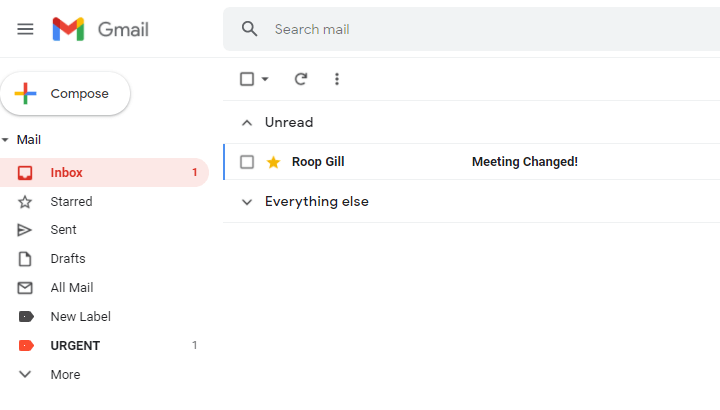
I want to ensure I don’t miss any emails from my coworker, Roop. I can take one of her emails and create a filter.
In this filter, I want her emails to remain in my inbox so I’ll be sure NOT to use the ‘Skip the inbox’ function and instead I’ll choose ‘Star it’ and ‘Apply the label’.
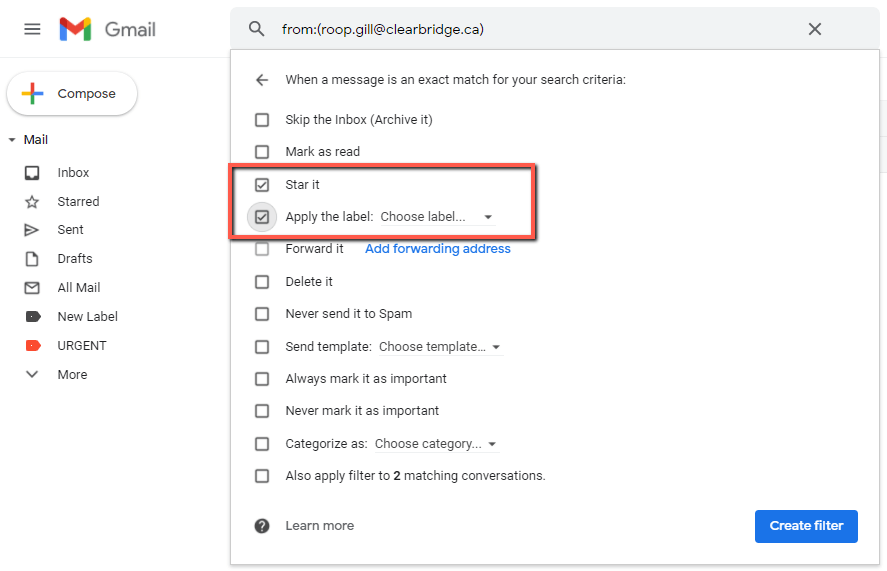
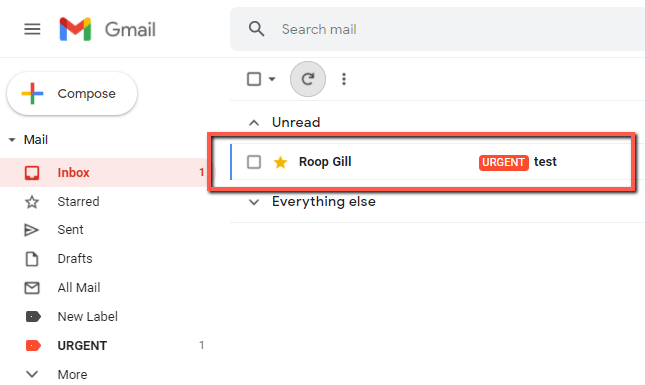
Next, I’m going to create a new label called ‘URGENT’ so that all of Roop’s emails are now automatically labeled as urgent when they hit my inbox.
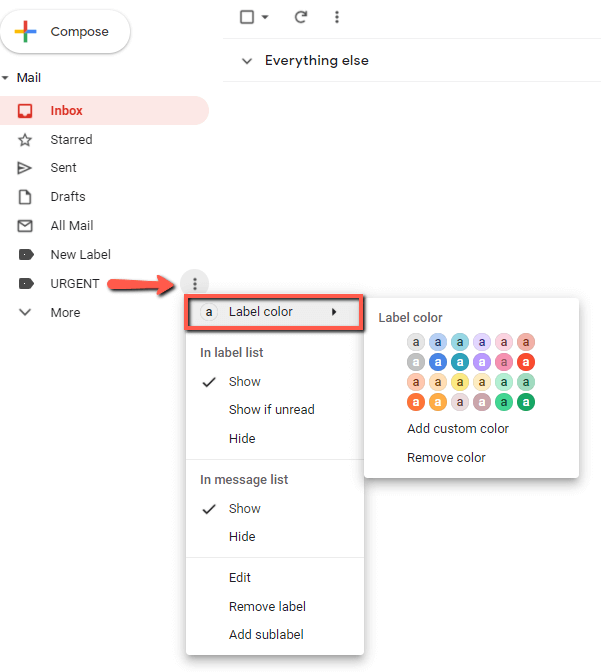
Now if I want her emails to stand out even MORE, I can change the label colour to something that shouts for my attention.
To do this, I’ll just click on the vertical dots beside the URGENT label and change the label colour to bright red.
Now the email stands out that much more in my inbox and will take an awful lot for me to miss it.
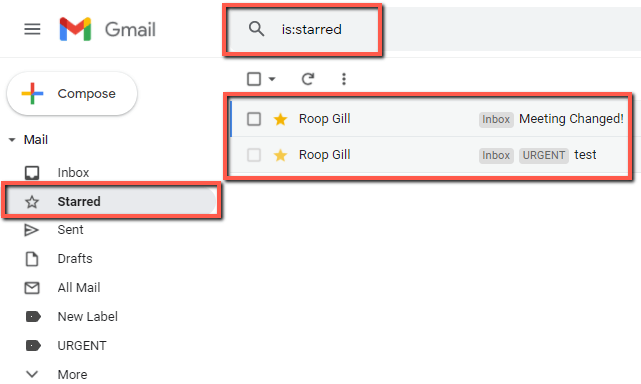
The email is also automatically starred, which simply means that I can use one of Gmail’s default labels—the Starred label—to also find it.
Or… Just Archive it—then Search.
One last email strategy I’ll quickly cover is one that we practice at Clearbridge, and that’s the Archive & Search strategy.
For more on that strategy, check it out HERE, but what it basically boils down to is that as soon as an email is dealt with, we archive it.
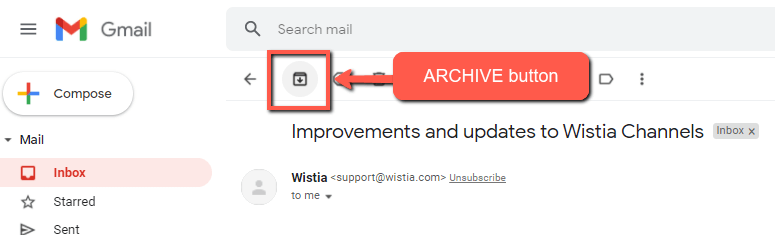
Archiving your emails doesn’t delete them, it simply removes the email from your inbox and sticks it under your All Mail label. If you ever need to find that email, you can use Gmail’s powerful search bar to find it.
This is a bit of an extreme, minimalist approach to email management but sometimes simple is best. Especially when it comes to saving time.
Wrapping Up
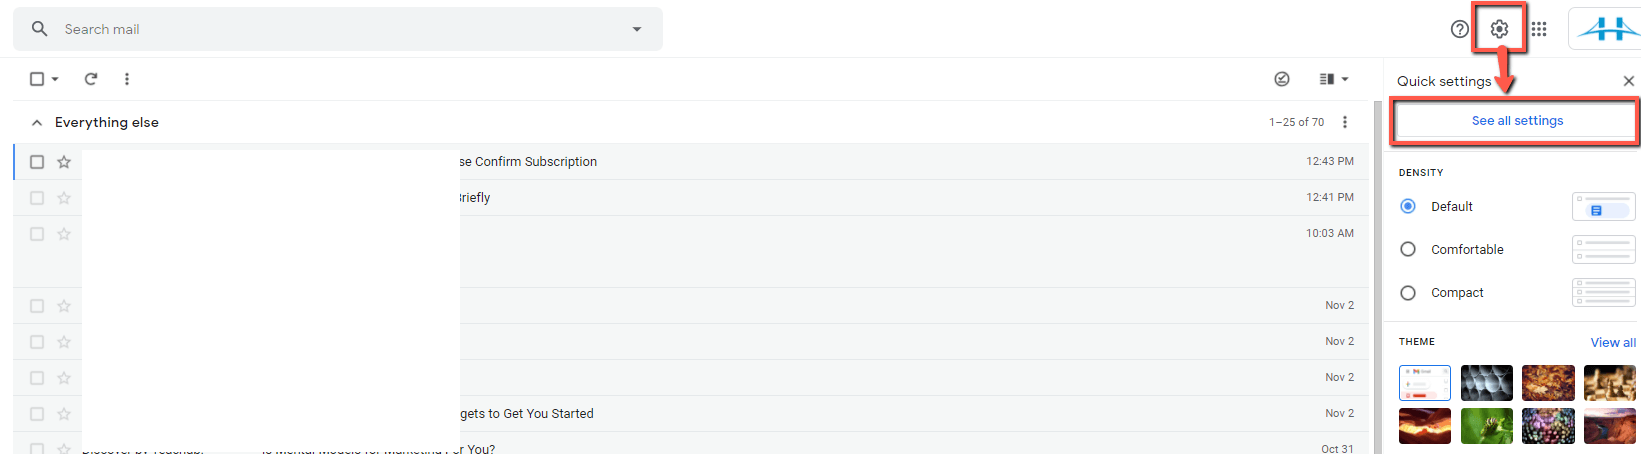
One last thing I should mention is about managing your filters. First, go to the gear icon in the upper right corner of the Gmail screen. Then select See all settings.
You can review all of your filters in your Gmail settings under the Filters and Blocked Addresses tab.
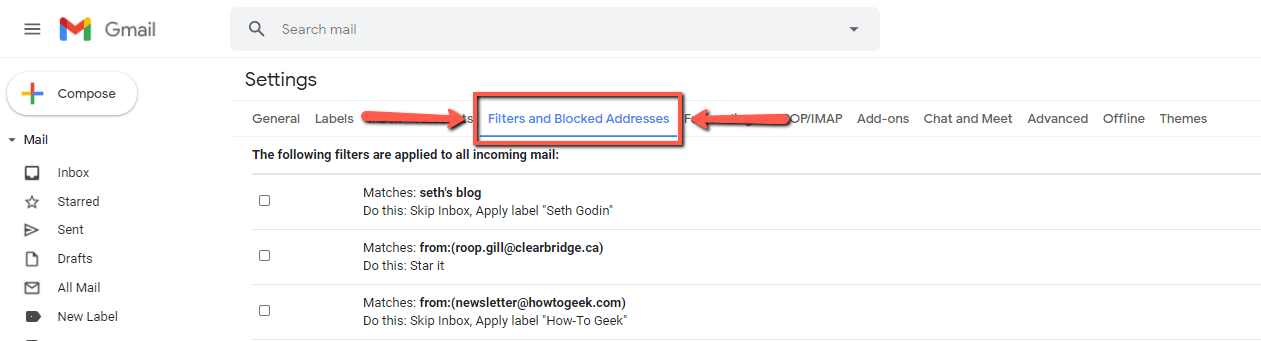
Here, you can edit, delete, create new filters, and import or export your filters.

Productivity
The word "productivity" is thrown around a lot but how EXACTLY do you stay productive? Check out our latest and greatest productivity content to learn how to stay focused and make the most of your day. Carpe Diem as they say!
Stay Organized with a Bullet Journal
Staying organized has become more complex than necessary in today's age of technology. What’s helped us stay organized and do our best work is the Bullet Journal Method.
What is ClearOne?
Clearbridge Business Solutions provides technology services to businesses in a few unique ways. ClearOne is our most comprehensive offering spanning all technology facets in your business.